Spotting Hidden Moisture Behind Bathroom Tile Before It Becomes a Mold Problem
Why Hidden Moisture Matters in Bathroom Mold Removal
Bathrooms are naturally damp spaces, but visible moisture on surfaces is only part of the story. Behind tiles, along grout lines, and inside walls, trapped water can sit for weeks or months without anyone noticing. By the time mold becomes visible on the surface, the problem has often been growing for a while. That is why finding hidden moisture early is a critical step in effective bathroom mold removal. Mold needs three things to thrive: moisture, warmth, and a food source. Tile grout and the backing materials behind it provide plenty of organic material for mold to feed on. Once moisture seeps in, mold colonies can spread behind the tile long before you see any discoloration on the surface. Catching that hidden dampness early can save you from more extensive repairs down the road.
Understanding where to look and what signs indicate trapped moisture is key. Many homeowners focus on cleaning visible mold stains, but that only addresses the symptom. The real fix involves finding and eliminating the source of moisture. That is where a systematic approach helps. Below are practical steps to detect hidden moisture behind bathroom tile, with tips on what to watch for at each stage. For professional remediation, services like Mold Removal Boston Pros bathroom mold removal can handle the full process, but knowing what to check yourself is a good first step.
Step 1: Check for Visual Clues on the Tile Surface
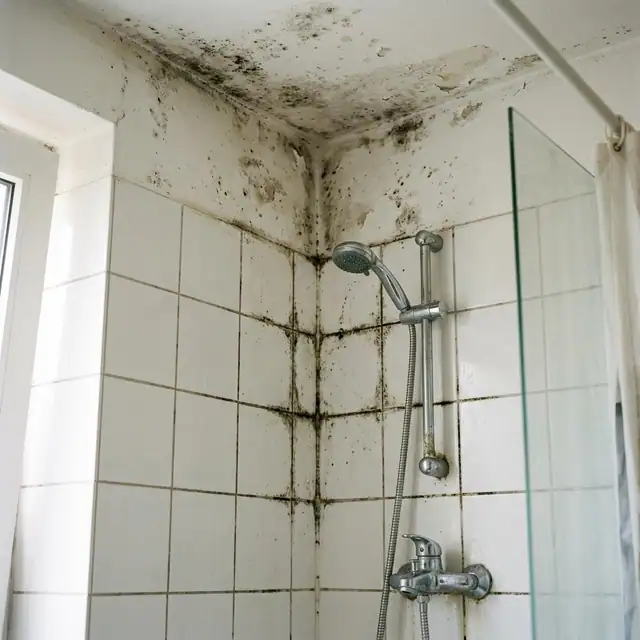
Start with a close visual inspection. Look for tiles that appear slightly darker than those around them, even when dry. This can indicate that moisture has saturated the tile or the grout. Discoloration along grout lines, especially near corners or fixtures, is another common sign. Pay attention to areas where caulking meets the tile, such as around the bathtub, shower base, or sink. Cracked or missing caulk allows water to travel behind the tile. Also examine the grout itself. If grout is crumbling, cracked, or missing in spots, water can penetrate behind the tile easily. In older bathrooms, grout may have worn down over time, creating hidden pathways for moisture. Even if the tile looks clean, compromised grout can be a silent entry point for water.
Step 2: Use Your Sense of Touch and Smell
Touch can reveal what the eyes miss. Run your hand over the tile surface. If any tiles feel cooler than the surrounding area, that temperature difference can point to moisture behind them. Damp tiles conduct heat differently than dry ones, so a cool spot on an otherwise warm wall is worth investigating. Your nose is also a useful tool. Musty or earthy odors that persist even after cleaning often signal mold growth hidden behind tile or inside wall cavities. If the bathroom smells damp even when everything looks dry, there is likely moisture trapped somewhere it should not be.
Step 3: Tap Test for Hollow Sounds
A simple tap test can help identify delamination or water damage behind tile. Gently tap each tile with a small object, like the handle of a screwdriver or a plastic utensil. Listen for a hollow or dull sound compared to the solid sound of a well-bonded tile. Hollow-sounding tiles may have lost their adhesive bond, often because moisture has weakened the backing material. Water can get trapped in that air gap, creating a perfect environment for mold. Tiles that sound hollow should be inspected more closely, possibly by a professional who can check for moisture behind them without causing damage.
Step 4: Inspect Adjacent Areas for Secondary Signs
Hidden moisture rarely stays completely hidden. It often shows up in nearby areas. Check the baseboards, floor corners, and the wall opposite the tiled surface. Look for peeling paint, bubbling wallpaper, or soft spots in the drywall. These are signs that moisture has traveled beyond the tile area. Pay attention to the ceiling below the bathroom if there is a room underneath. Water stains or flaking paint on the ceiling below can indicate a slow leak coming from the bathroom floor or wall. Also examine the grout lines on the floor near the shower or tub. If those are dark or stained, moisture may be wicking up from below.
Step 5: Use a Moisture Meter for Confirmation
A moisture meter is a simple tool that can give you a more objective reading. These devices measure the moisture content of materials like wood, drywall, and tile backer board. You can find affordable models at hardware stores or home centers. To use one, place the meter's pins or sensor against the tile or grout and follow the manufacturer's instructions. A reading significantly higher than the baseline for dry materials suggests trapped moisture. Moisture meters are particularly useful for checking areas that look fine but feel suspicious, such as tiles near plumbing fixtures or along the bottom row of a shower wall. If you do not own a moisture meter, some professional inspection services will loan or rent them. Alternatively, a professional can perform this check as part of a broader assessment. If you suspect a larger issue, services like Mold Removal Boston Pros can bring specialized equipment to locate hidden moisture and assess mold risk.
Step 6: Check Fixtures and Sealants
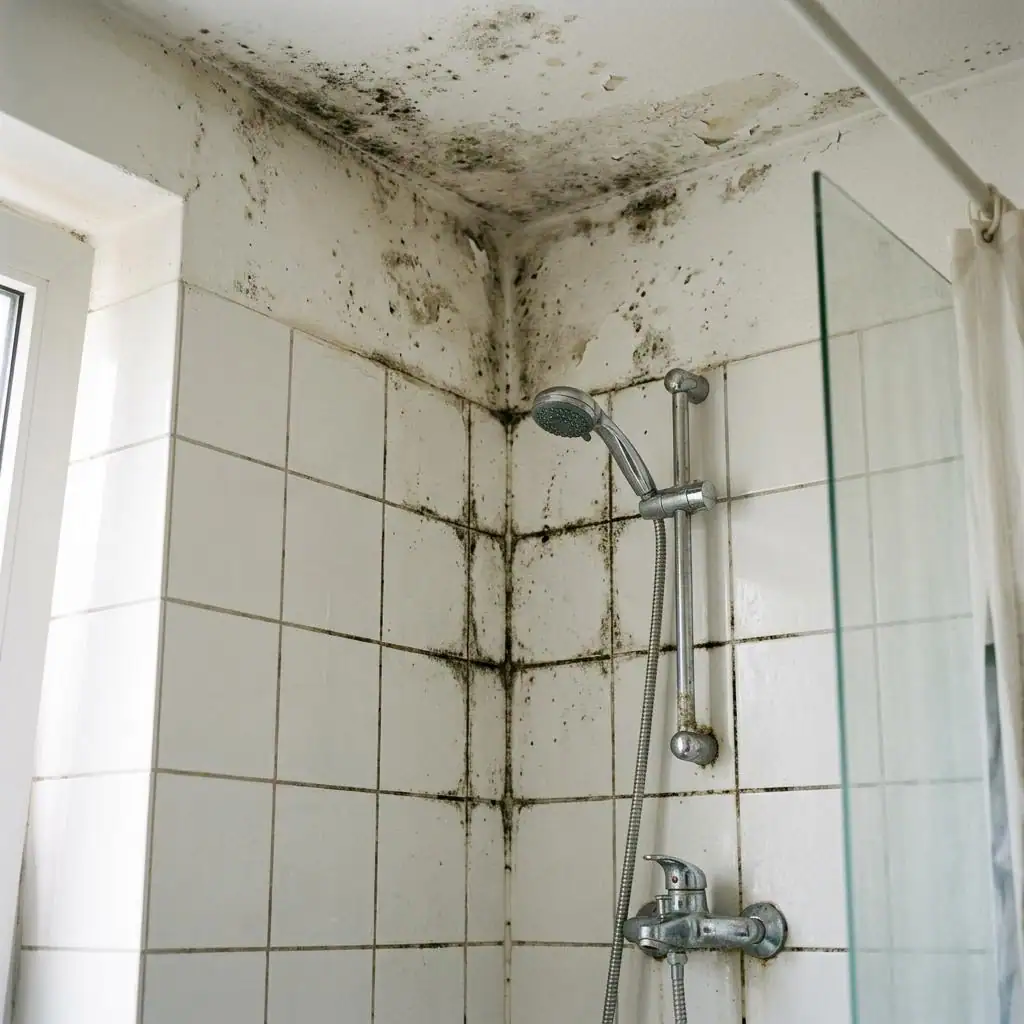
Plumbing fixtures are common sources of hidden moisture. Inspect the caulking around the showerhead, faucets, and handles. If the caulk is cracked, peeling, or missing, water can travel behind the tile through the fixture openings. The same applies to the seal around the shower door or curtain rod. Even a small gap can let water seep in during every shower. Also check the escutcheon plates on pipes. These metal covers can hide gaps where moisture enters the wall. Over time, the seal behind them can degrade, allowing water to wick into the wall cavity. Replacing worn caulk or resealing fixtures can prevent further moisture intrusion.
Step 7: Consider the Ventilation Factor
Poor ventilation contributes to hidden moisture problems. Even if no active leak exists, high humidity levels in a bathroom can cause moisture to condense on cool tile surfaces. Over time, that condensation can seep into grout and behind tiles, especially if the bathroom is not properly vented. Check whether the bathroom has an exhaust fan that vents to the outside. Many older fans just recirculate air or vent into the attic, which does not remove humidity effectively. If the fan is weak or noisy, it may not be moving enough air. Running the fan during and for at least 20 minutes after a shower can help reduce overall moisture levels. If the bathroom lacks a fan, consider a dehumidifier or simply leave the door open after use to let moisture escape.
When Hidden Moisture Leads to Mold
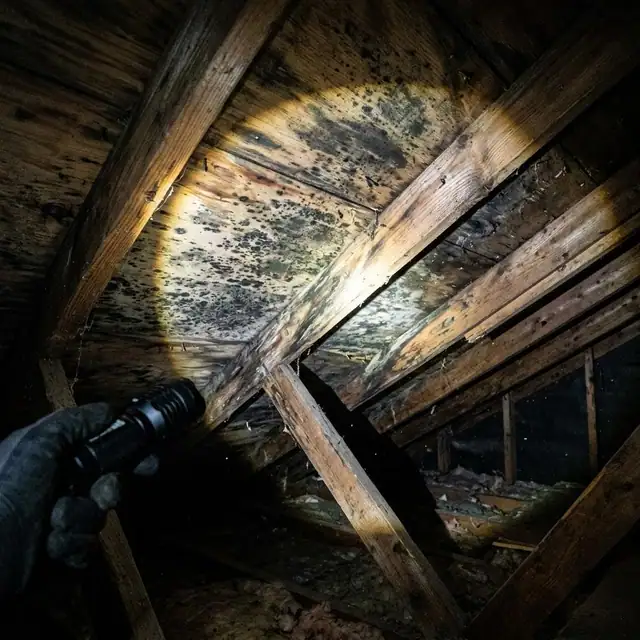
Once you find evidence of hidden moisture, the next step is addressing it. If mold is already growing behind the tile, simply drying the surface will not solve the problem. The moldy materials need to be removed and replaced, and the moisture source must be fixed. That often involves removing affected tiles, treating the backing, and reinstalling new tile or a waterproof surround. This type of remediation is best handled by professionals who understand how to contain mold spores and prevent cross-contamination. That is where a service like Mold Removal Boston Pros can step in. They assess the full scope of the problem, from hidden moisture to visible growth, and address the underlying causes, including ventilation issues and damaged materials.
Preventive Habits to Keep Moisture in Check
After identifying and fixing hidden moisture, maintaining a dry bathroom reduces the chance of recurrence. Wipe down tile walls after showers to remove standing water. Use a squeegee on glass doors and tile to speed drying. Keep grout sealed with a quality grout sealer, reapplying it once a year or as recommended by the manufacturer. Replace caulk around fixtures at the first sign of wear. Run the exhaust fan every time you shower and leave it on for a while afterward. These small habits go a long way toward keeping moisture where it belongs: on the surface, not behind the tile. For a thorough approach that includes detection and remediation, Mold Removal Boston Pros bathroom mold removal services combine inspection with effective treatment to keep your bathroom healthy and dry.
Hidden moisture behind bathroom tile is a common but often overlooked problem. By checking for visual clues, using touch and smell, performing a tap test, inspecting adjacent areas, using a moisture meter, and examining fixtures, you can catch moisture issues early. Addressing the root cause rather than just cleaning surface mold leads to longer-lasting results. Whether you handle the repairs yourself or call in professionals, knowing how to find hidden moisture is a valuable skill for any homeowner.